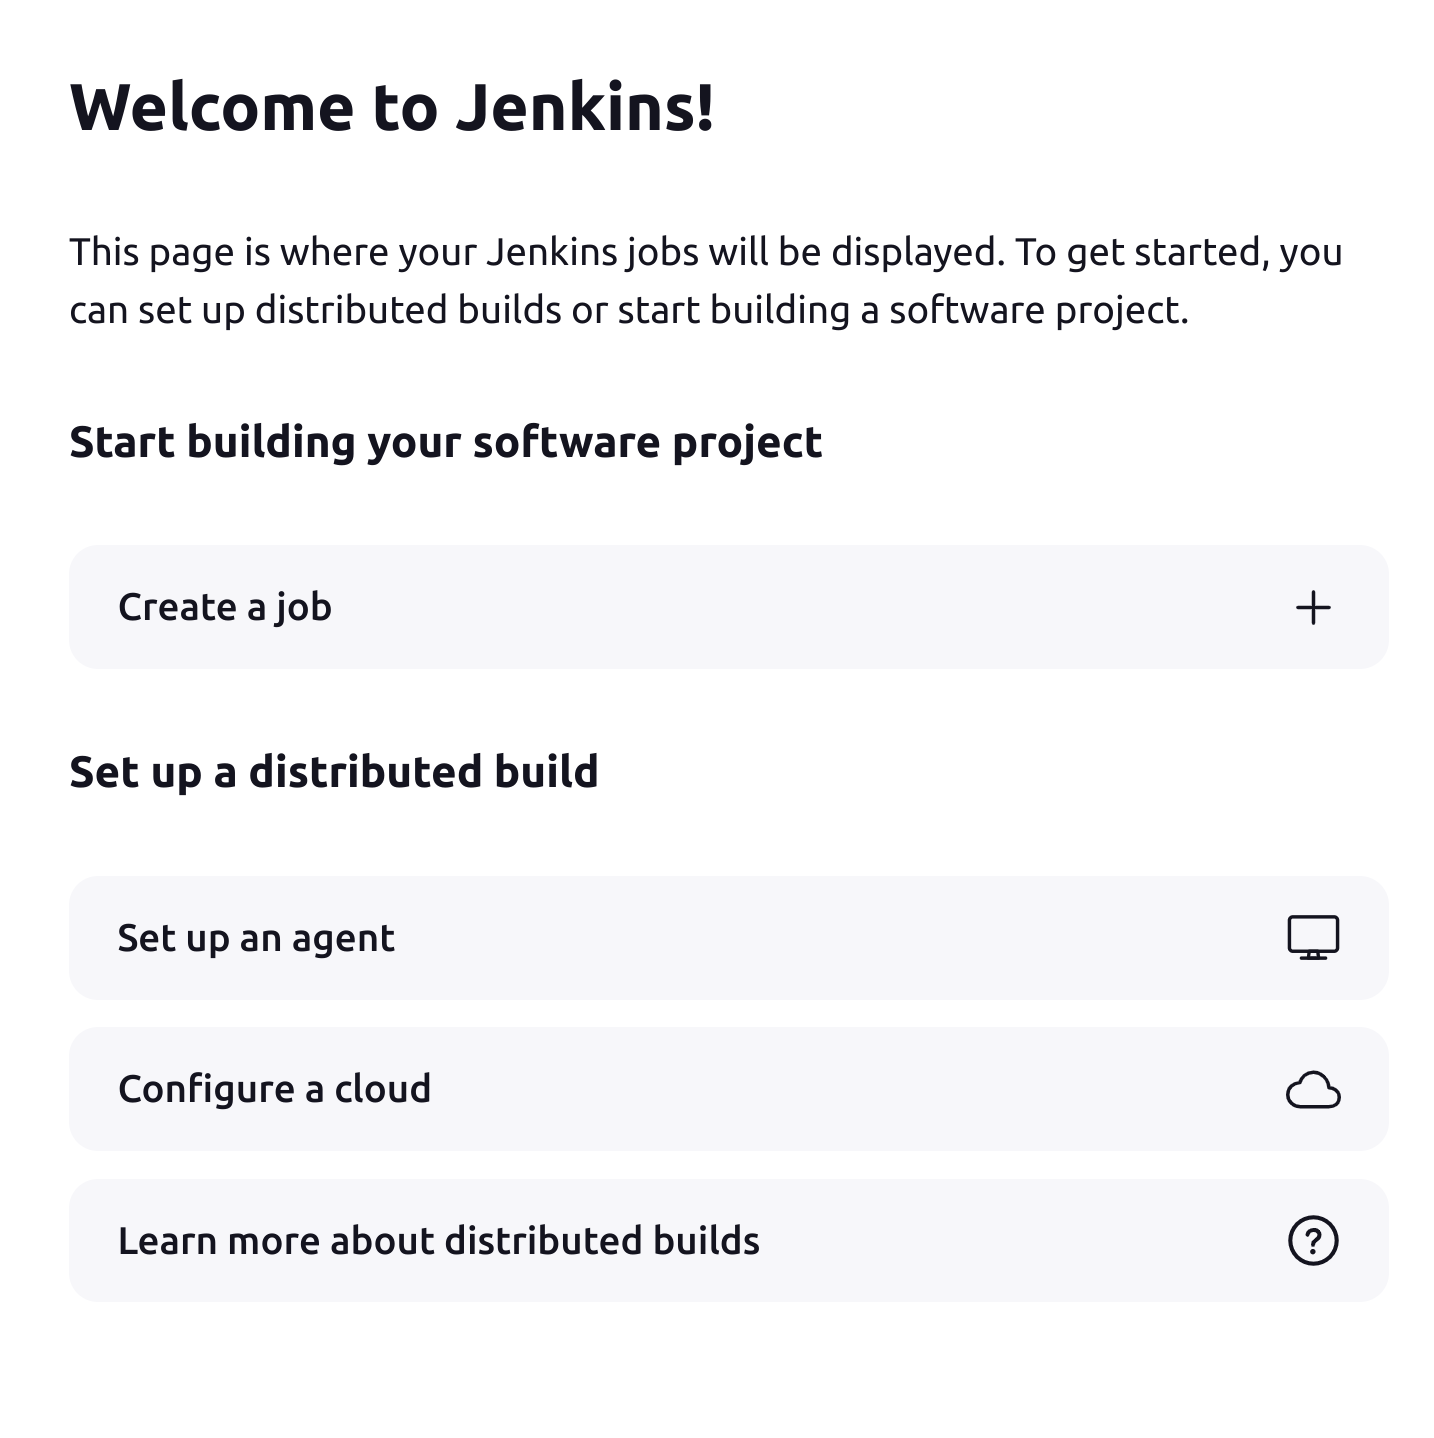
Setup Jenkins Server on AWS EC2 Instance

Tech enthusiast | Code craftsman | DevOps explorer | Turning bugs into features one line at a time 🚀
Jenkins is a open-source automation server written in java, used for building, testing, and deploying software projects.
Some use cases of jenkins are :
Jenkins can run scheduled jobs and batch processes, such as data processing tasks, database backups, and system maintenance activities.
Jenkins automatically builds, tests, and integrates code changes from multiple developers into a shared repository.
Jenkins facilitates the automation of deployment processes, allowing teams to deploy code changes to production or staging environments rapidly and consistently.
Jenkins helps in automating release management processes, including versioning, tagging, and generating release notes.
Jenkins can be used in conjunction with infrastructure automation tools like Ansible, Terraform, or Chef to automate the provisioning and configuration of infrastructure resources.
Steps to install jenkins server on AWS EC2 Instance
Step 1:Setup a Linux EC2 Instance
Log in to the Amazon management console, open EC2 Dashboard.
Click on the Launch Instance.
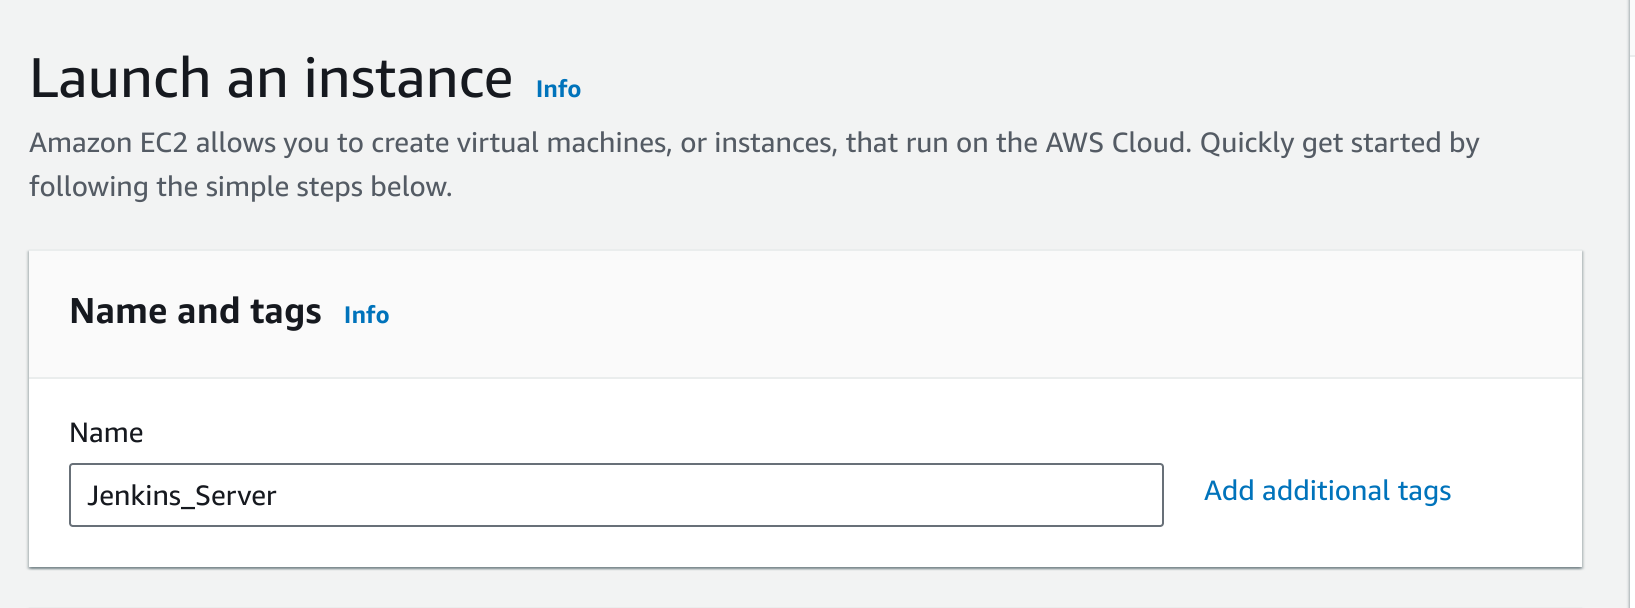
Provide the name of your EC2 instance,for now we are using Jenkins_Server.
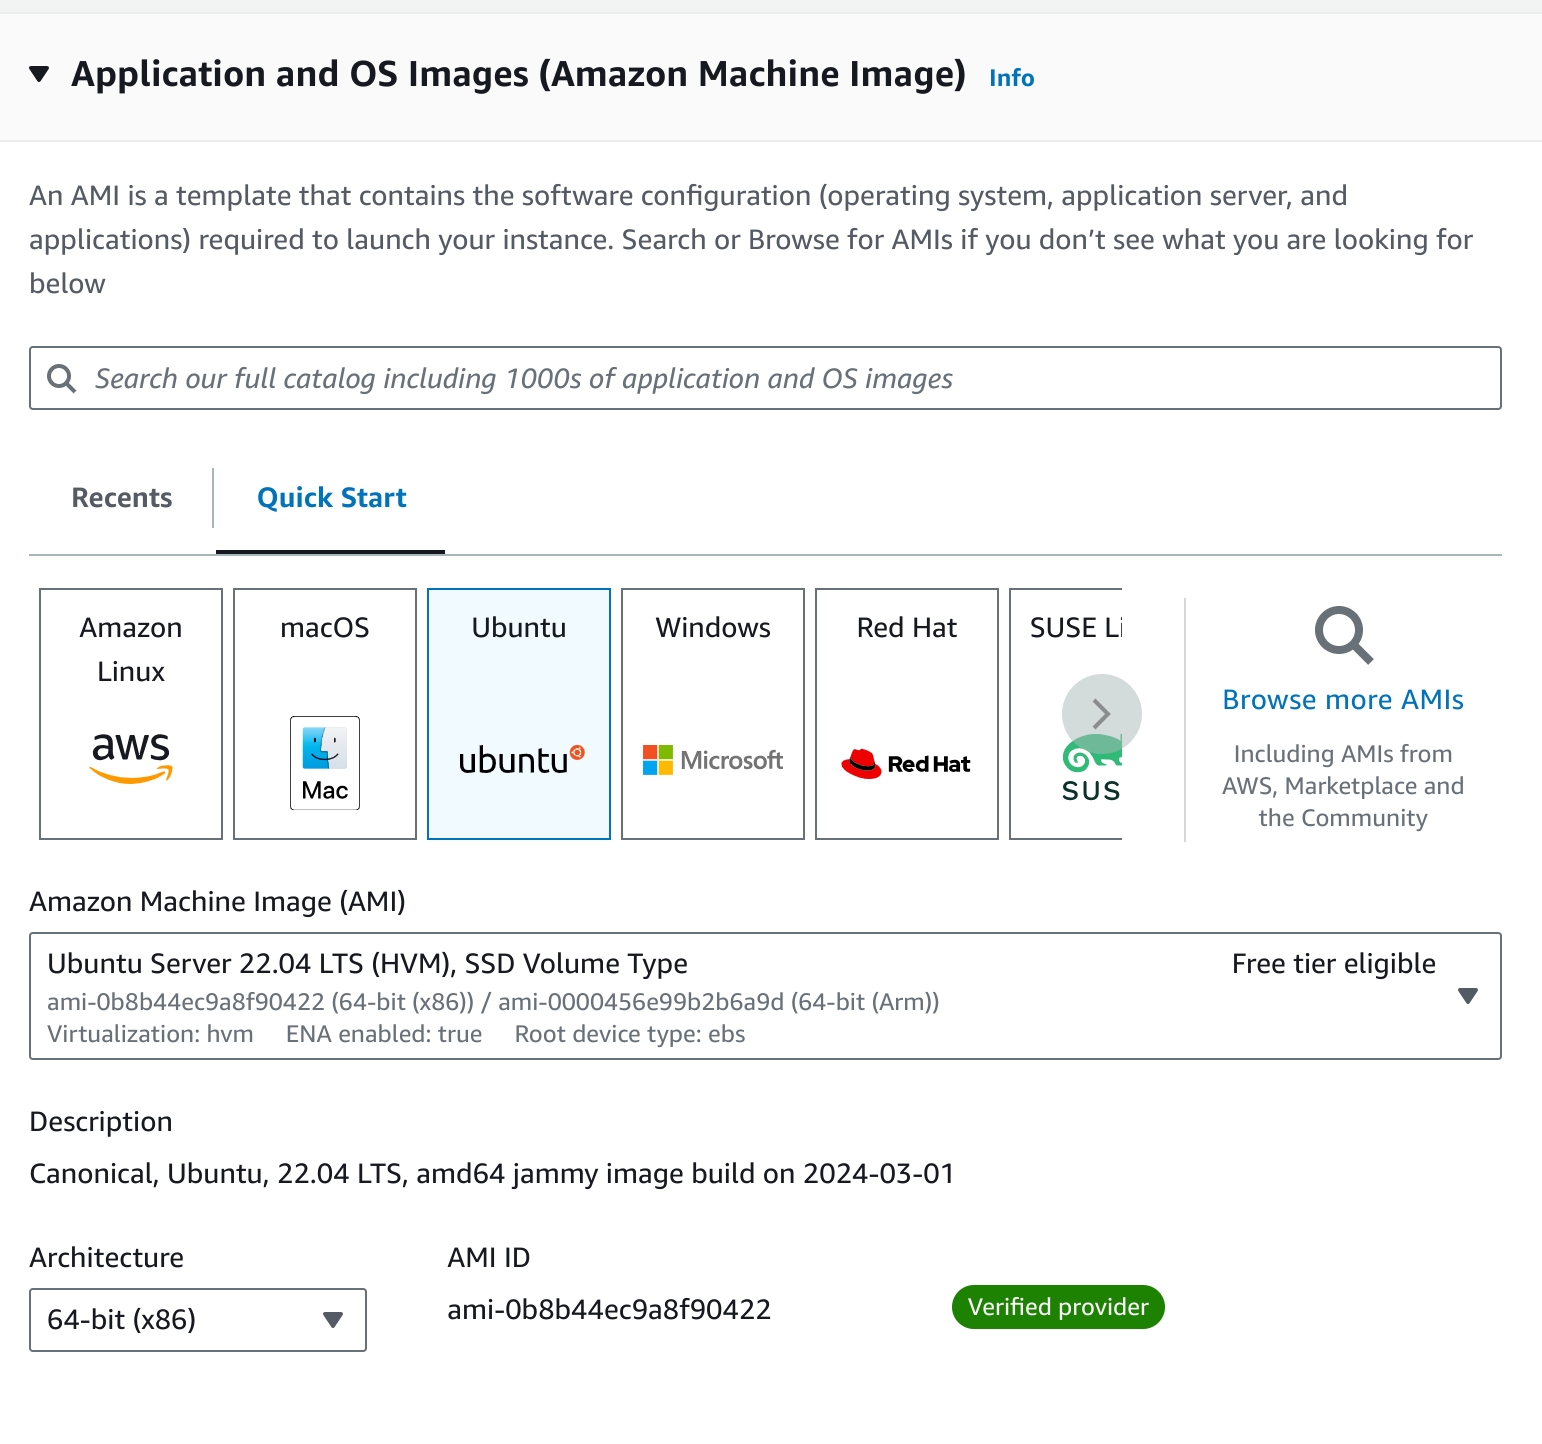
- Select Ubuntu server or any server of your choice.
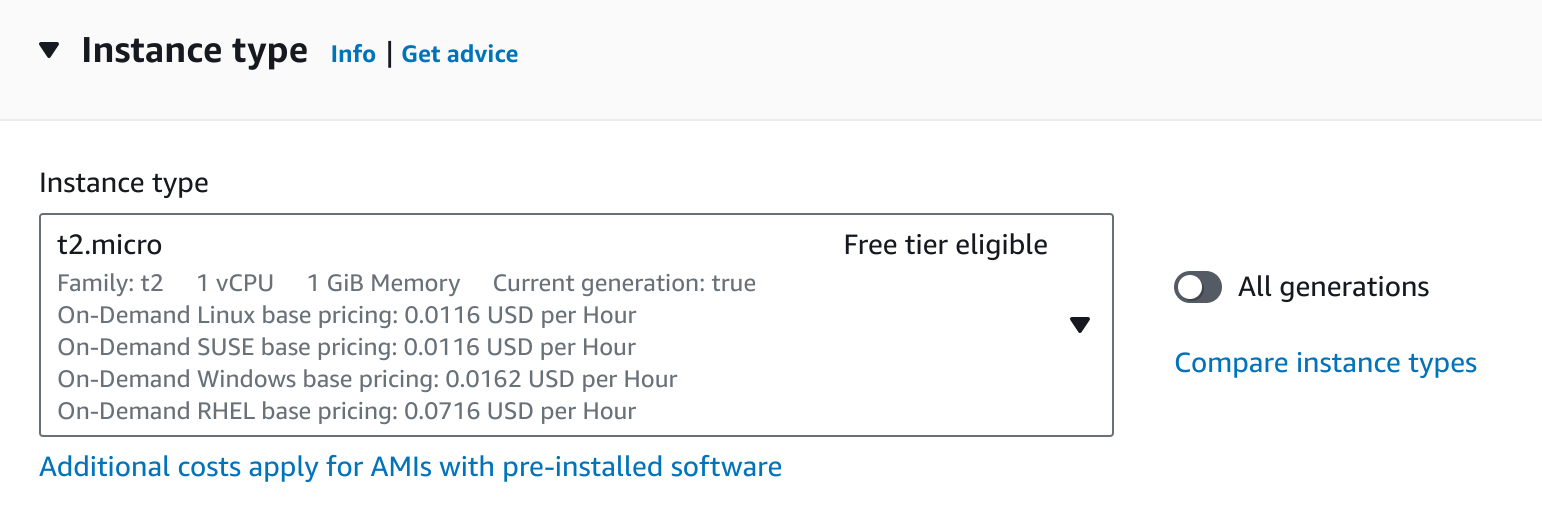
- In Instance Type,you can select the type of machine, number of vCPUs, and memory that you want to have. Select t2.micro which is free-tier eligible.
Create Key Pair or use existing one.
Now under Network Settings, Choose the default VPC with Auto-assign public IP in enable mode. Create a new Security Group, provide a name for your security group, allow ssh traffic, and custom default TCP port of 8080 which is used by Jenkins.
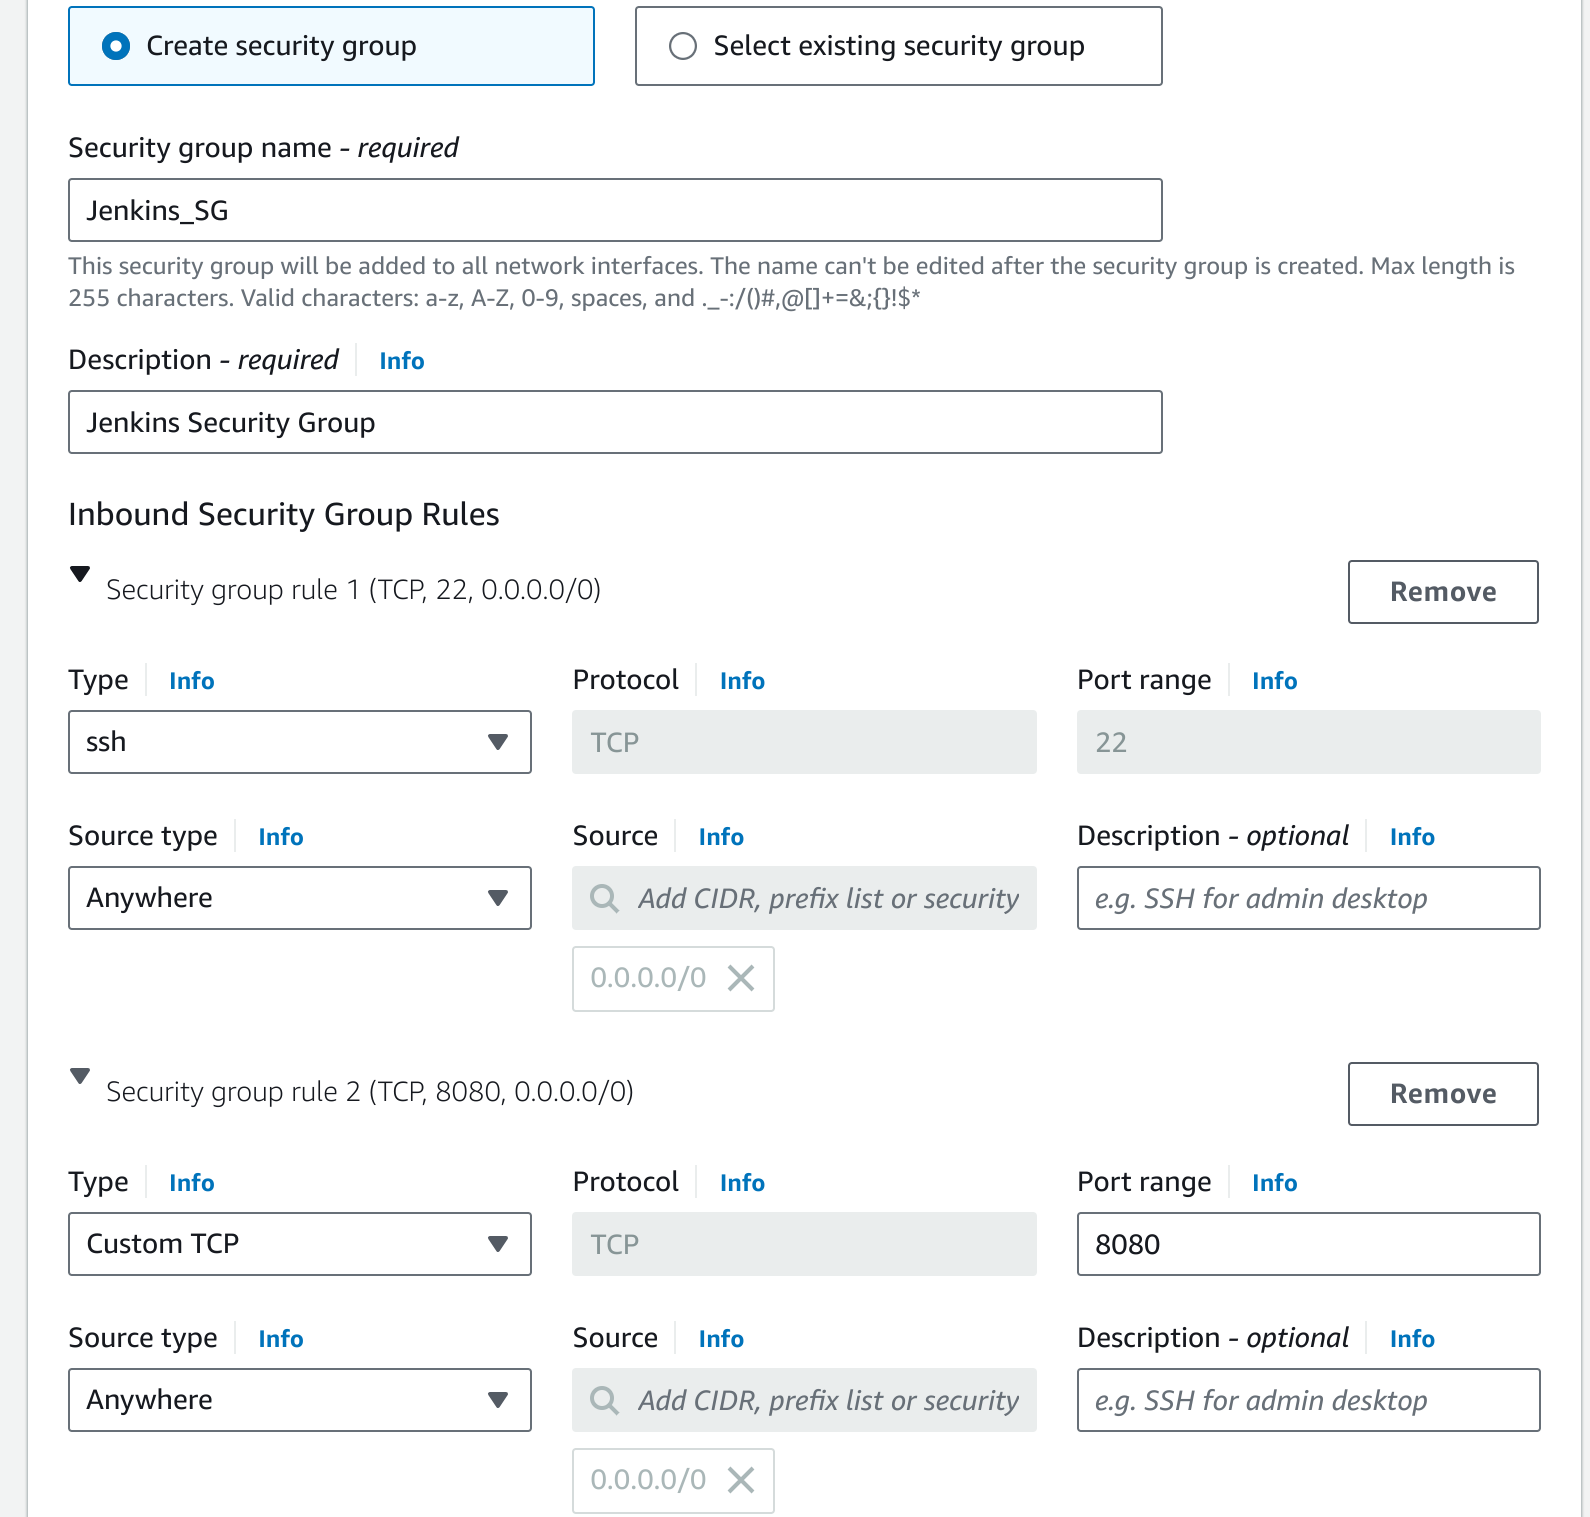
Keep rest of the settings at default and go ahead and click on Launch Instance
Now connect to Instance
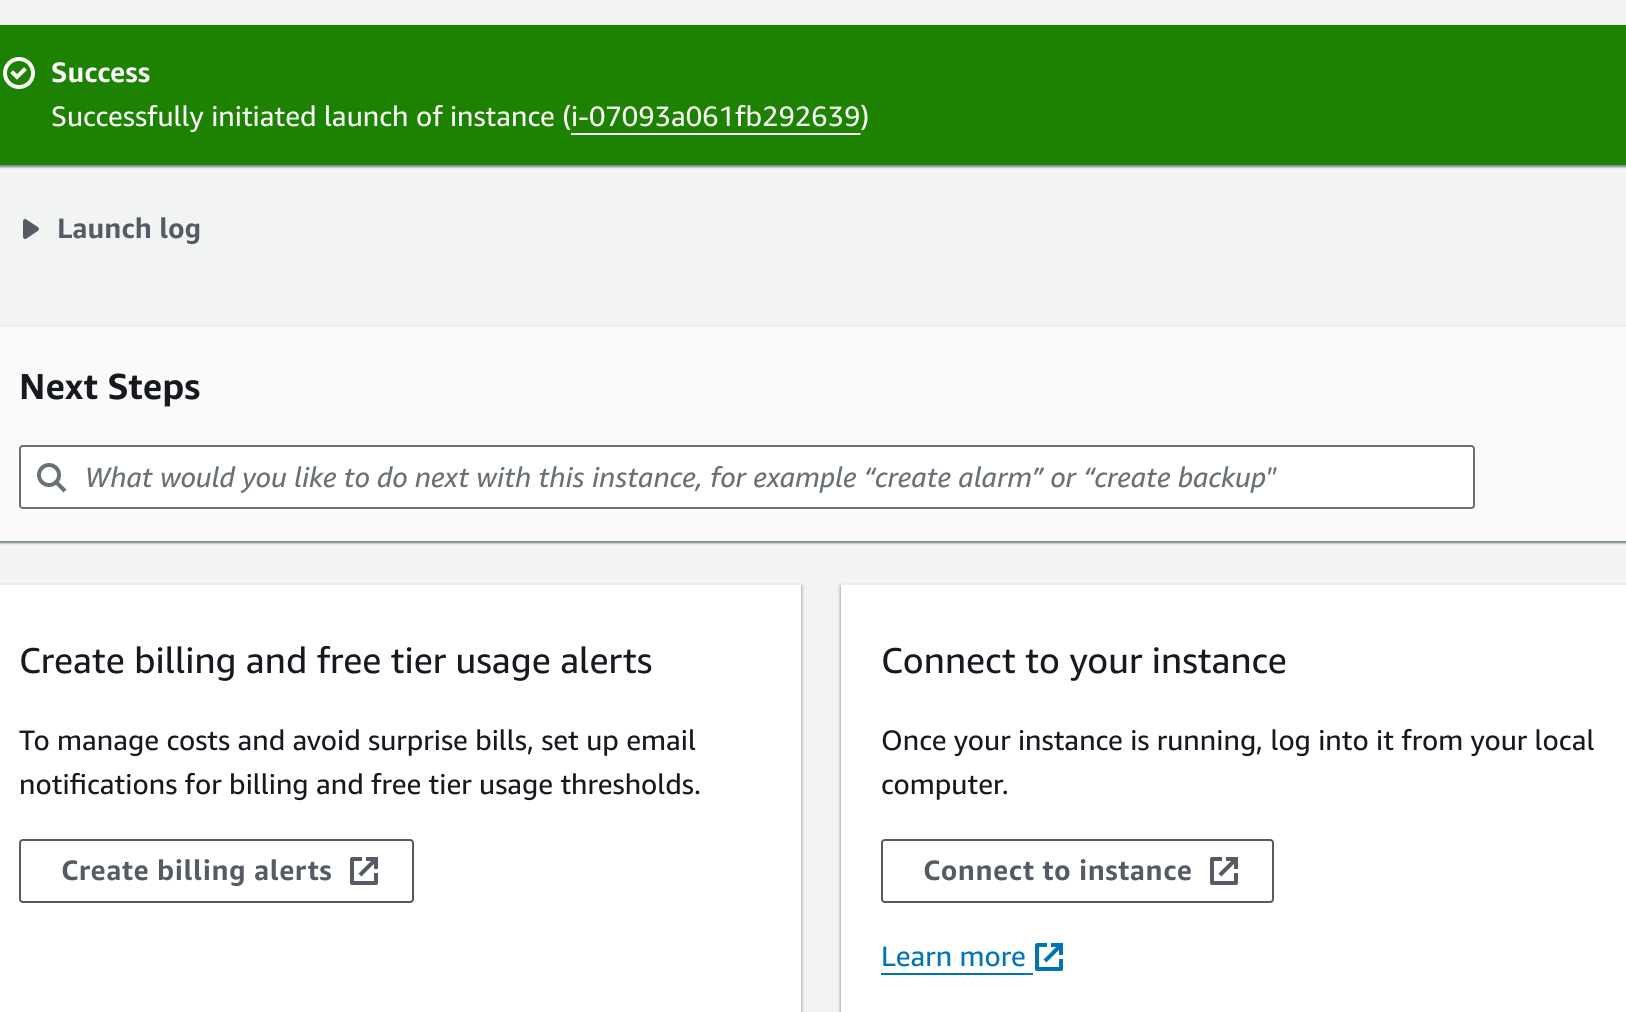
Go to SSH client tab and copy the provided chmod and SSH command
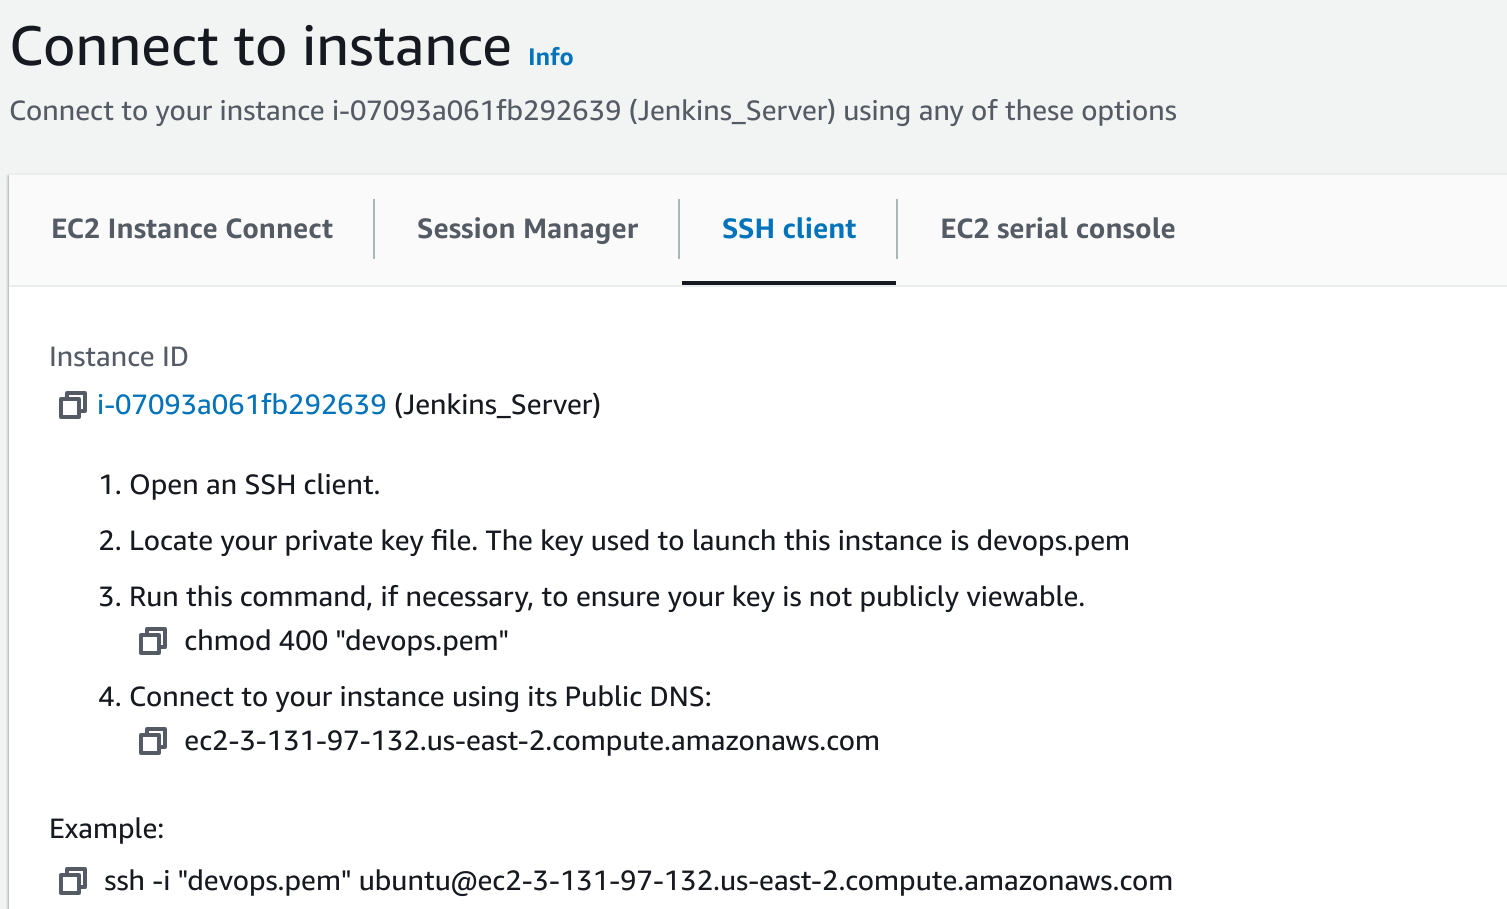
Go to your local CLI, go inside the directory you have your pem key then connect to your instance using its public DNS as shown in example above.
Now we are connected to our instance .
Step 2: Install java
Copy
Copy
sudo apt update
sudo apt install default-jdk
java -version
Installing Jenkins using instructions from the official Jenkins website:
https://pkg.jenkins.io/redhat-stable/
- To use this repository, first add the key to your system
Copy
Copy
sudo wget -O /usr/share/keyrings/jenkins-keyring.asc \\
    <https://pkg.jenkins.io/debian-stable/jenkins.io-2023.key>
- Then add a Jenkins apt repository entry:
Copy
Copy
 echo deb [signed-by=/usr/share/keyrings/jenkins-keyring.asc] \\
    <https://pkg.jenkins.io/debian-stable> binary/ | sudo tee \\
    /etc/apt/sources.list.d/jenkins.list > /dev/null
- Update your local package index, then finally install Jenkins:
Copy
Copy
 sudo apt-get update
 sudo apt-get install jenkins
Now,after successful installation .
Let's enable and start Jenkins service in our EC2 Instance.
Now let’s try to access the Jenkins server through our browser.
For that take the public IP of your EC2 instance and port 8080 and paste it into your favorite browser and should see something like this:
- 18.220.24.170:8080
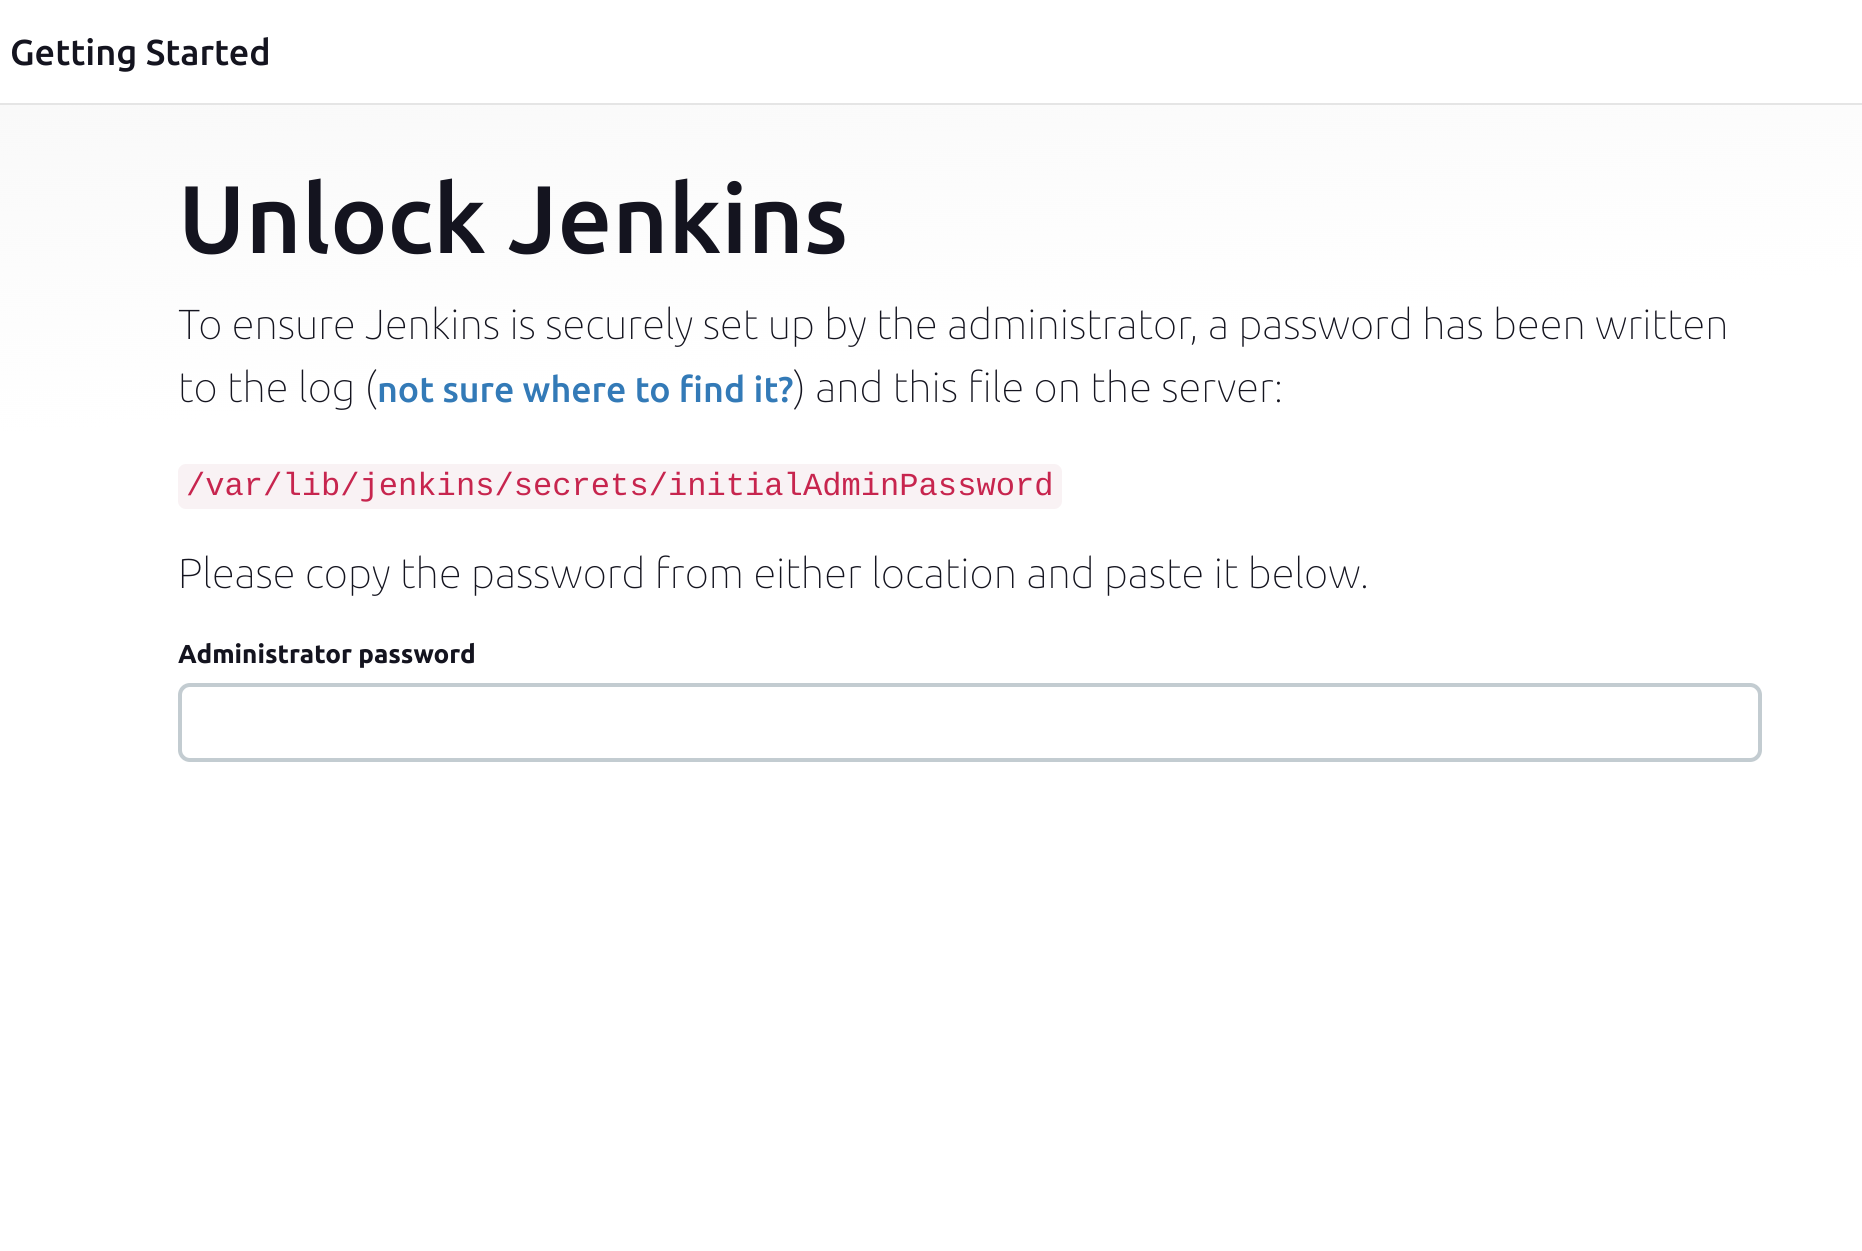
To unlock Jenkins we need to go to the path
/var/lib/jenkins/secrets/initialAdminPassword and fetch the admin password to proceed further:
if permission denied,check permissions using
Copy
Copy
ls -l /var/lib/jenkins/secrets/initialAdminPasswordchange permission using
chmod 777 /var/lib/jenkins/secrets/initialAdminPassword
now fetch admin password using
cat /var/lib/jenkins/secrets/initialAdminPassword
Now on the Customize Jenkins page, we can go ahead and install the suggested plugins:
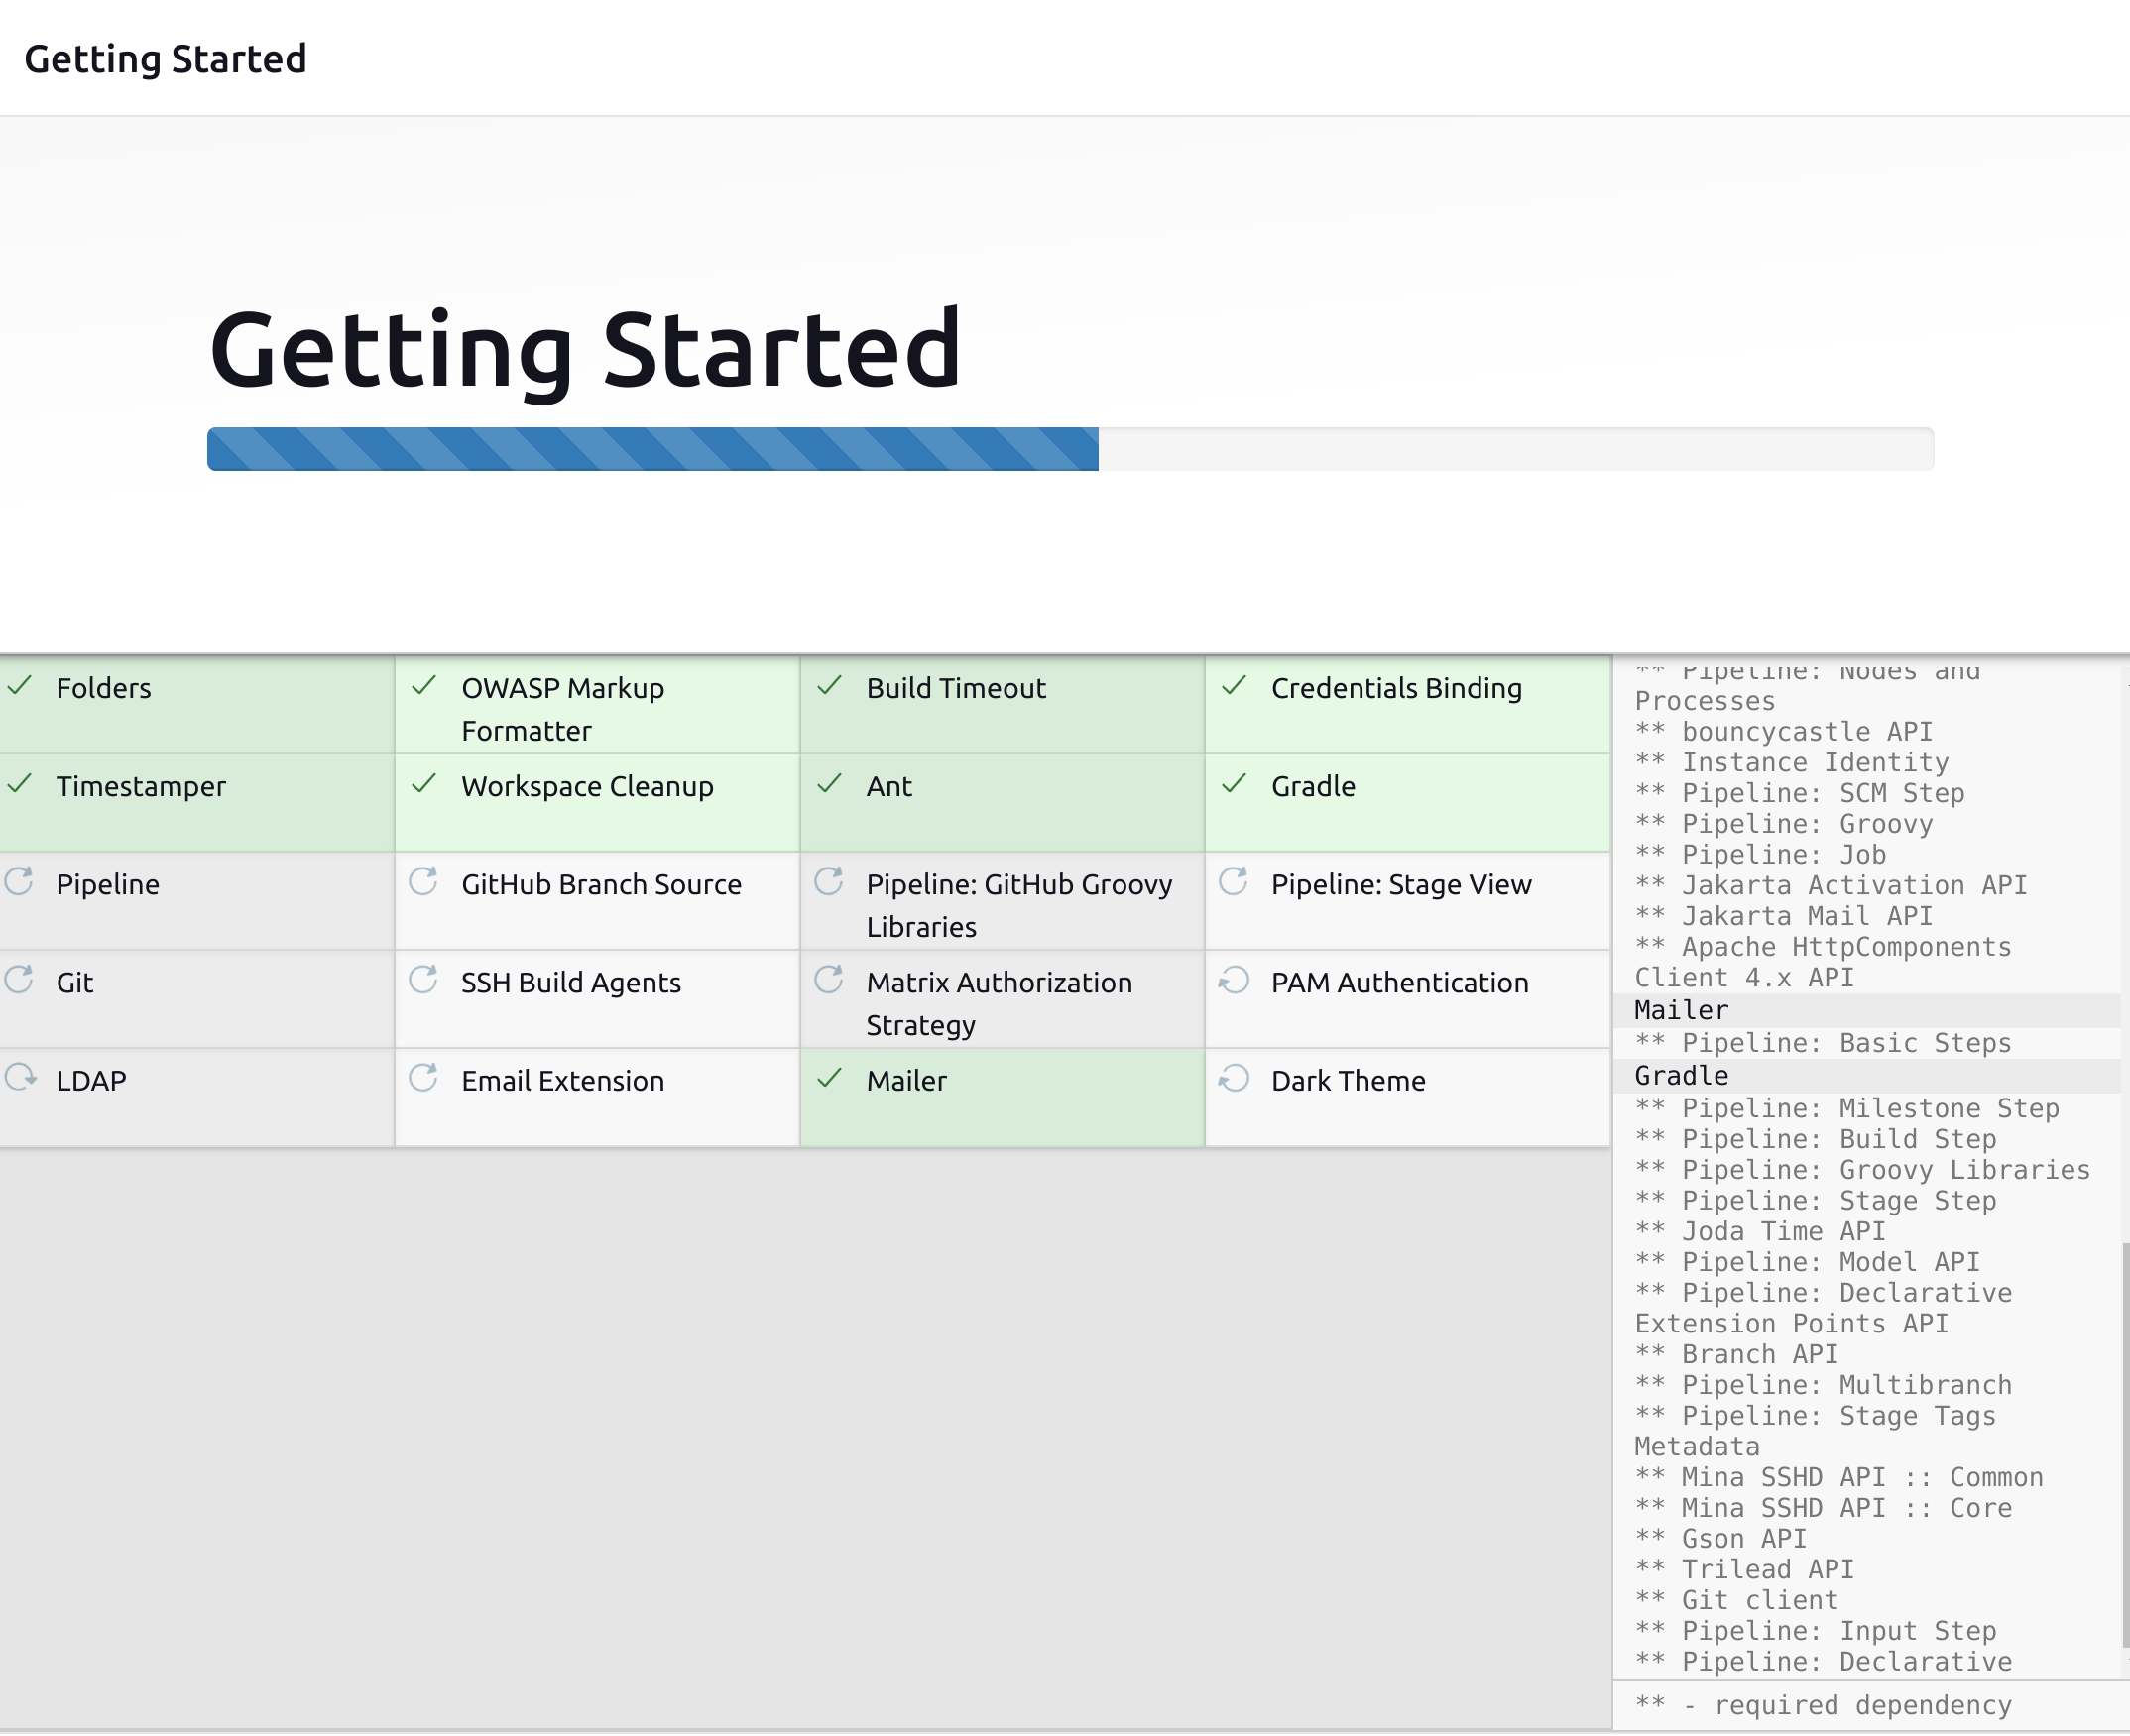
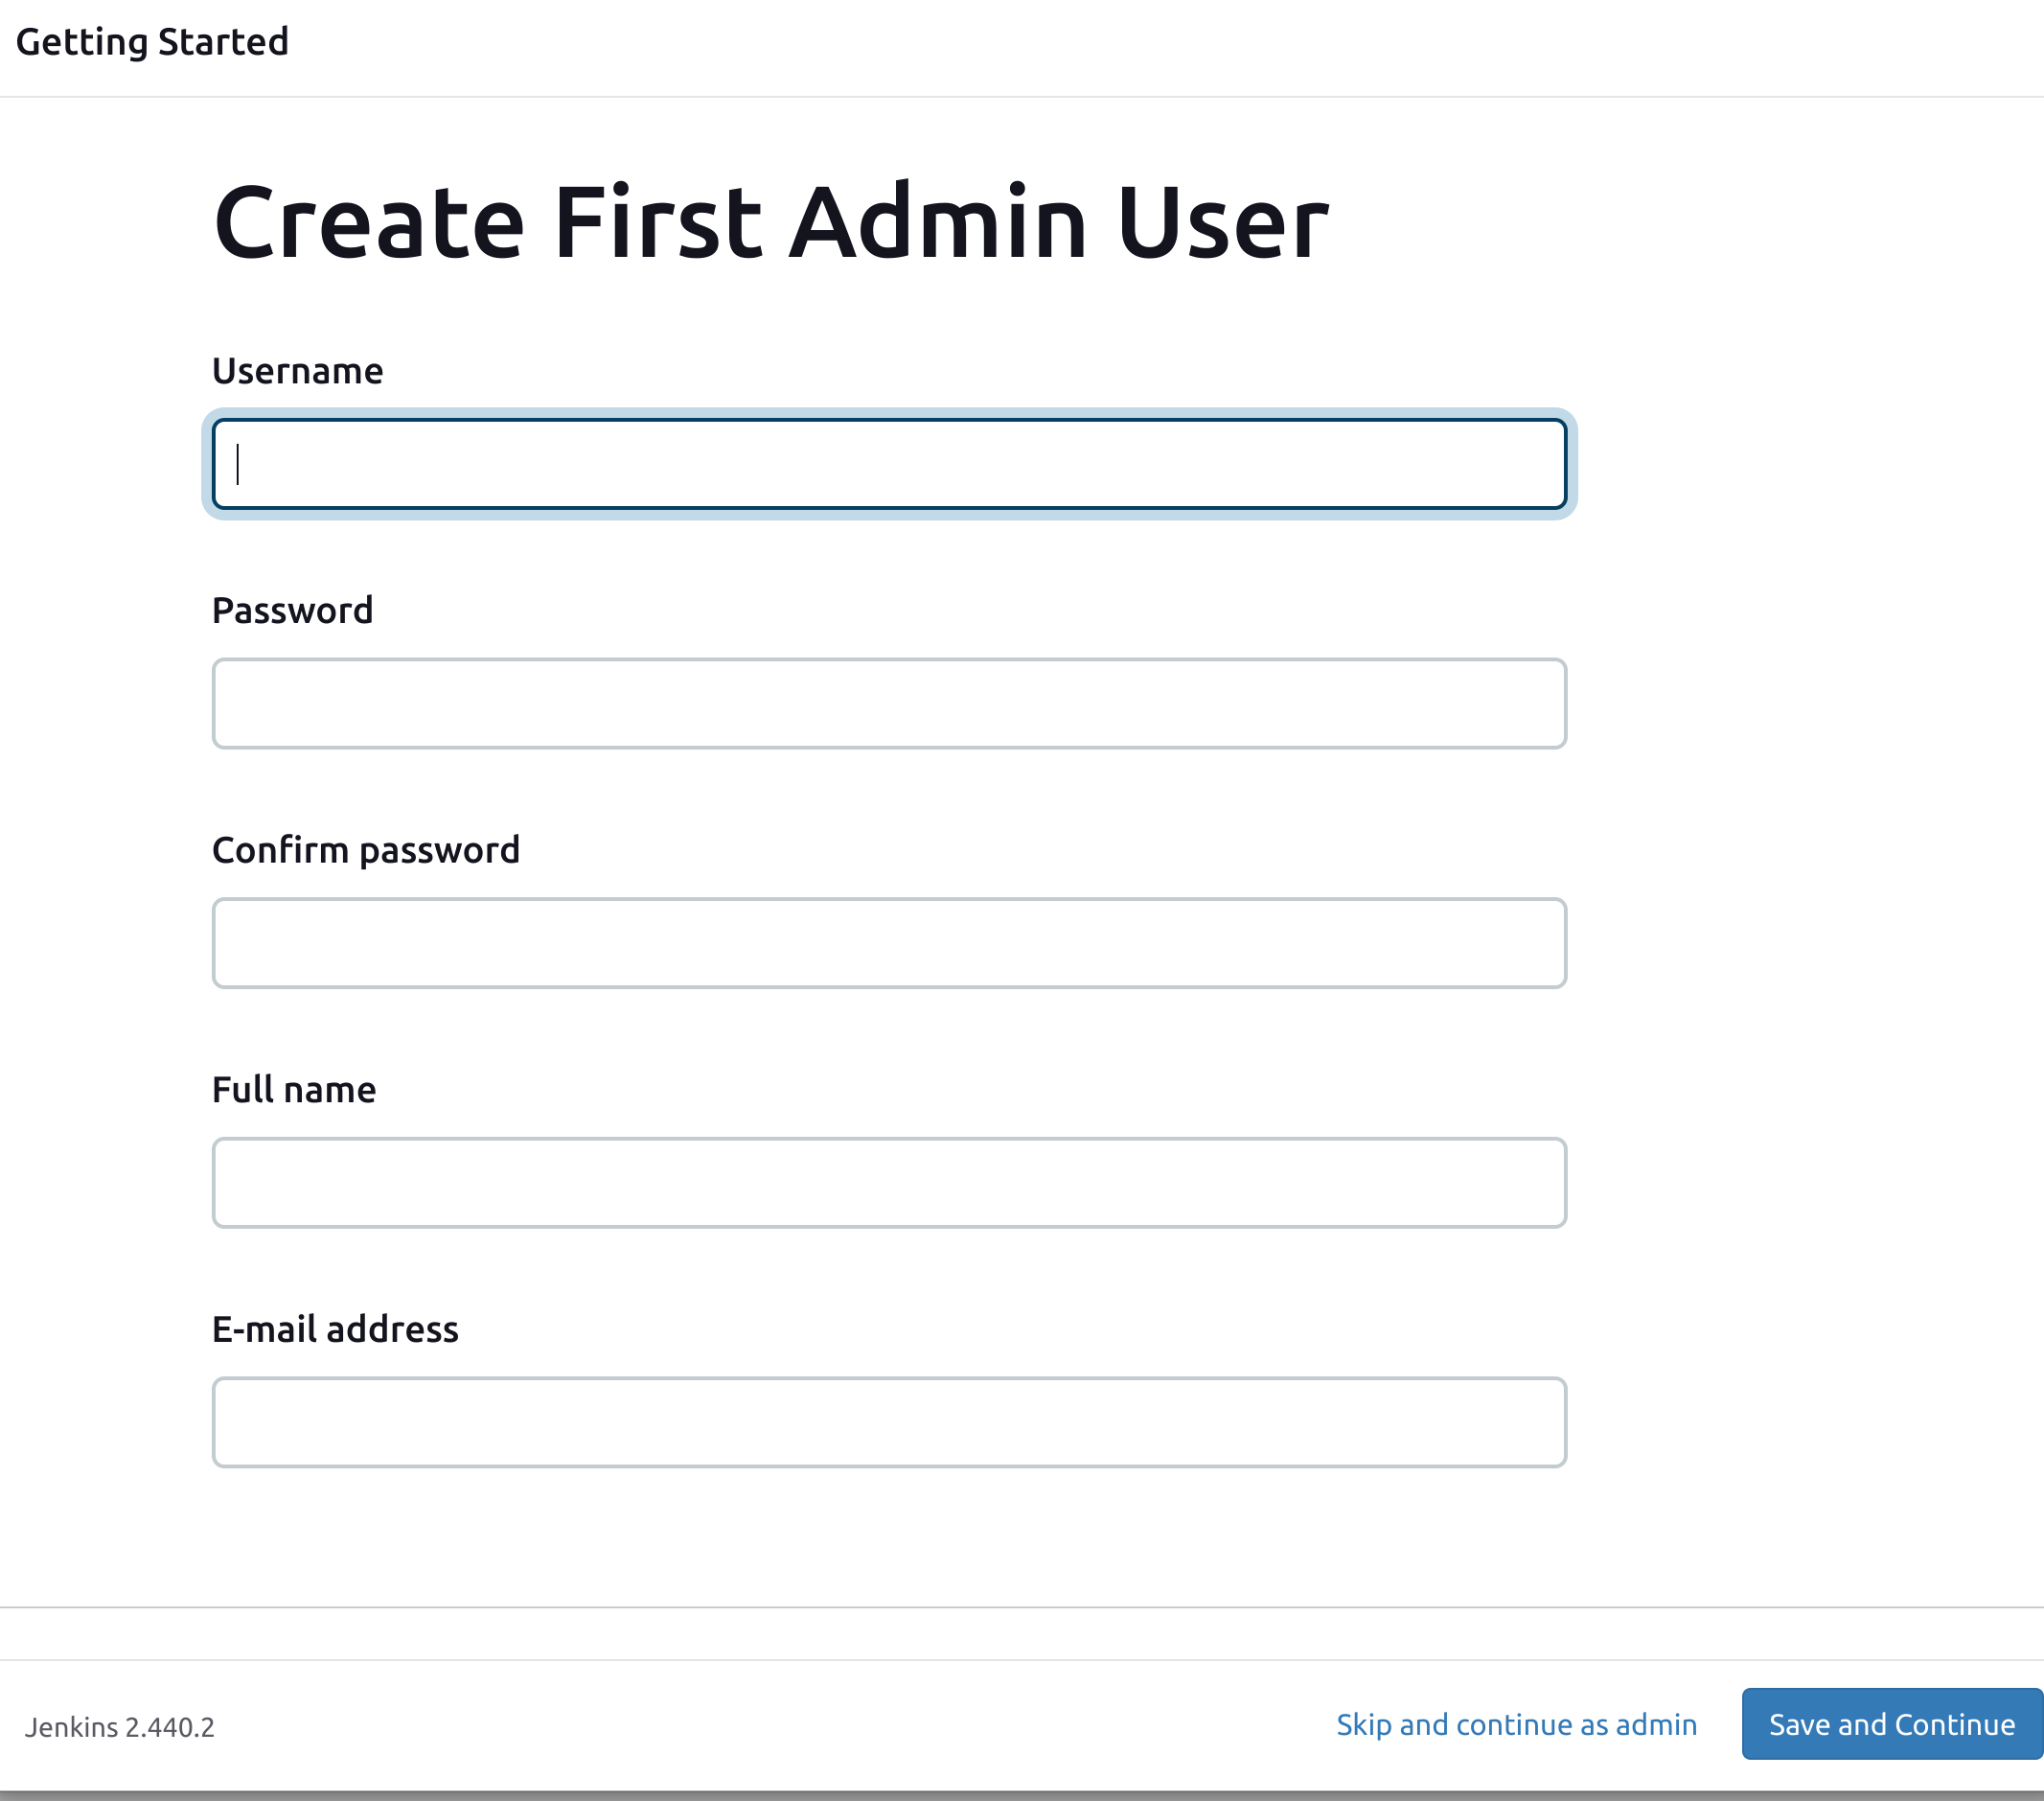
Now we can create our first Admin user, provide all the required data and proceed to save and continue.
Now we are ready to use our Jenkins Server.
Access jenkins via localhost:8080/.By default, Jenkins run on port 8080 i f you didn’t specified another port for it.
Setup first admin user
create a first admin user
save and continue
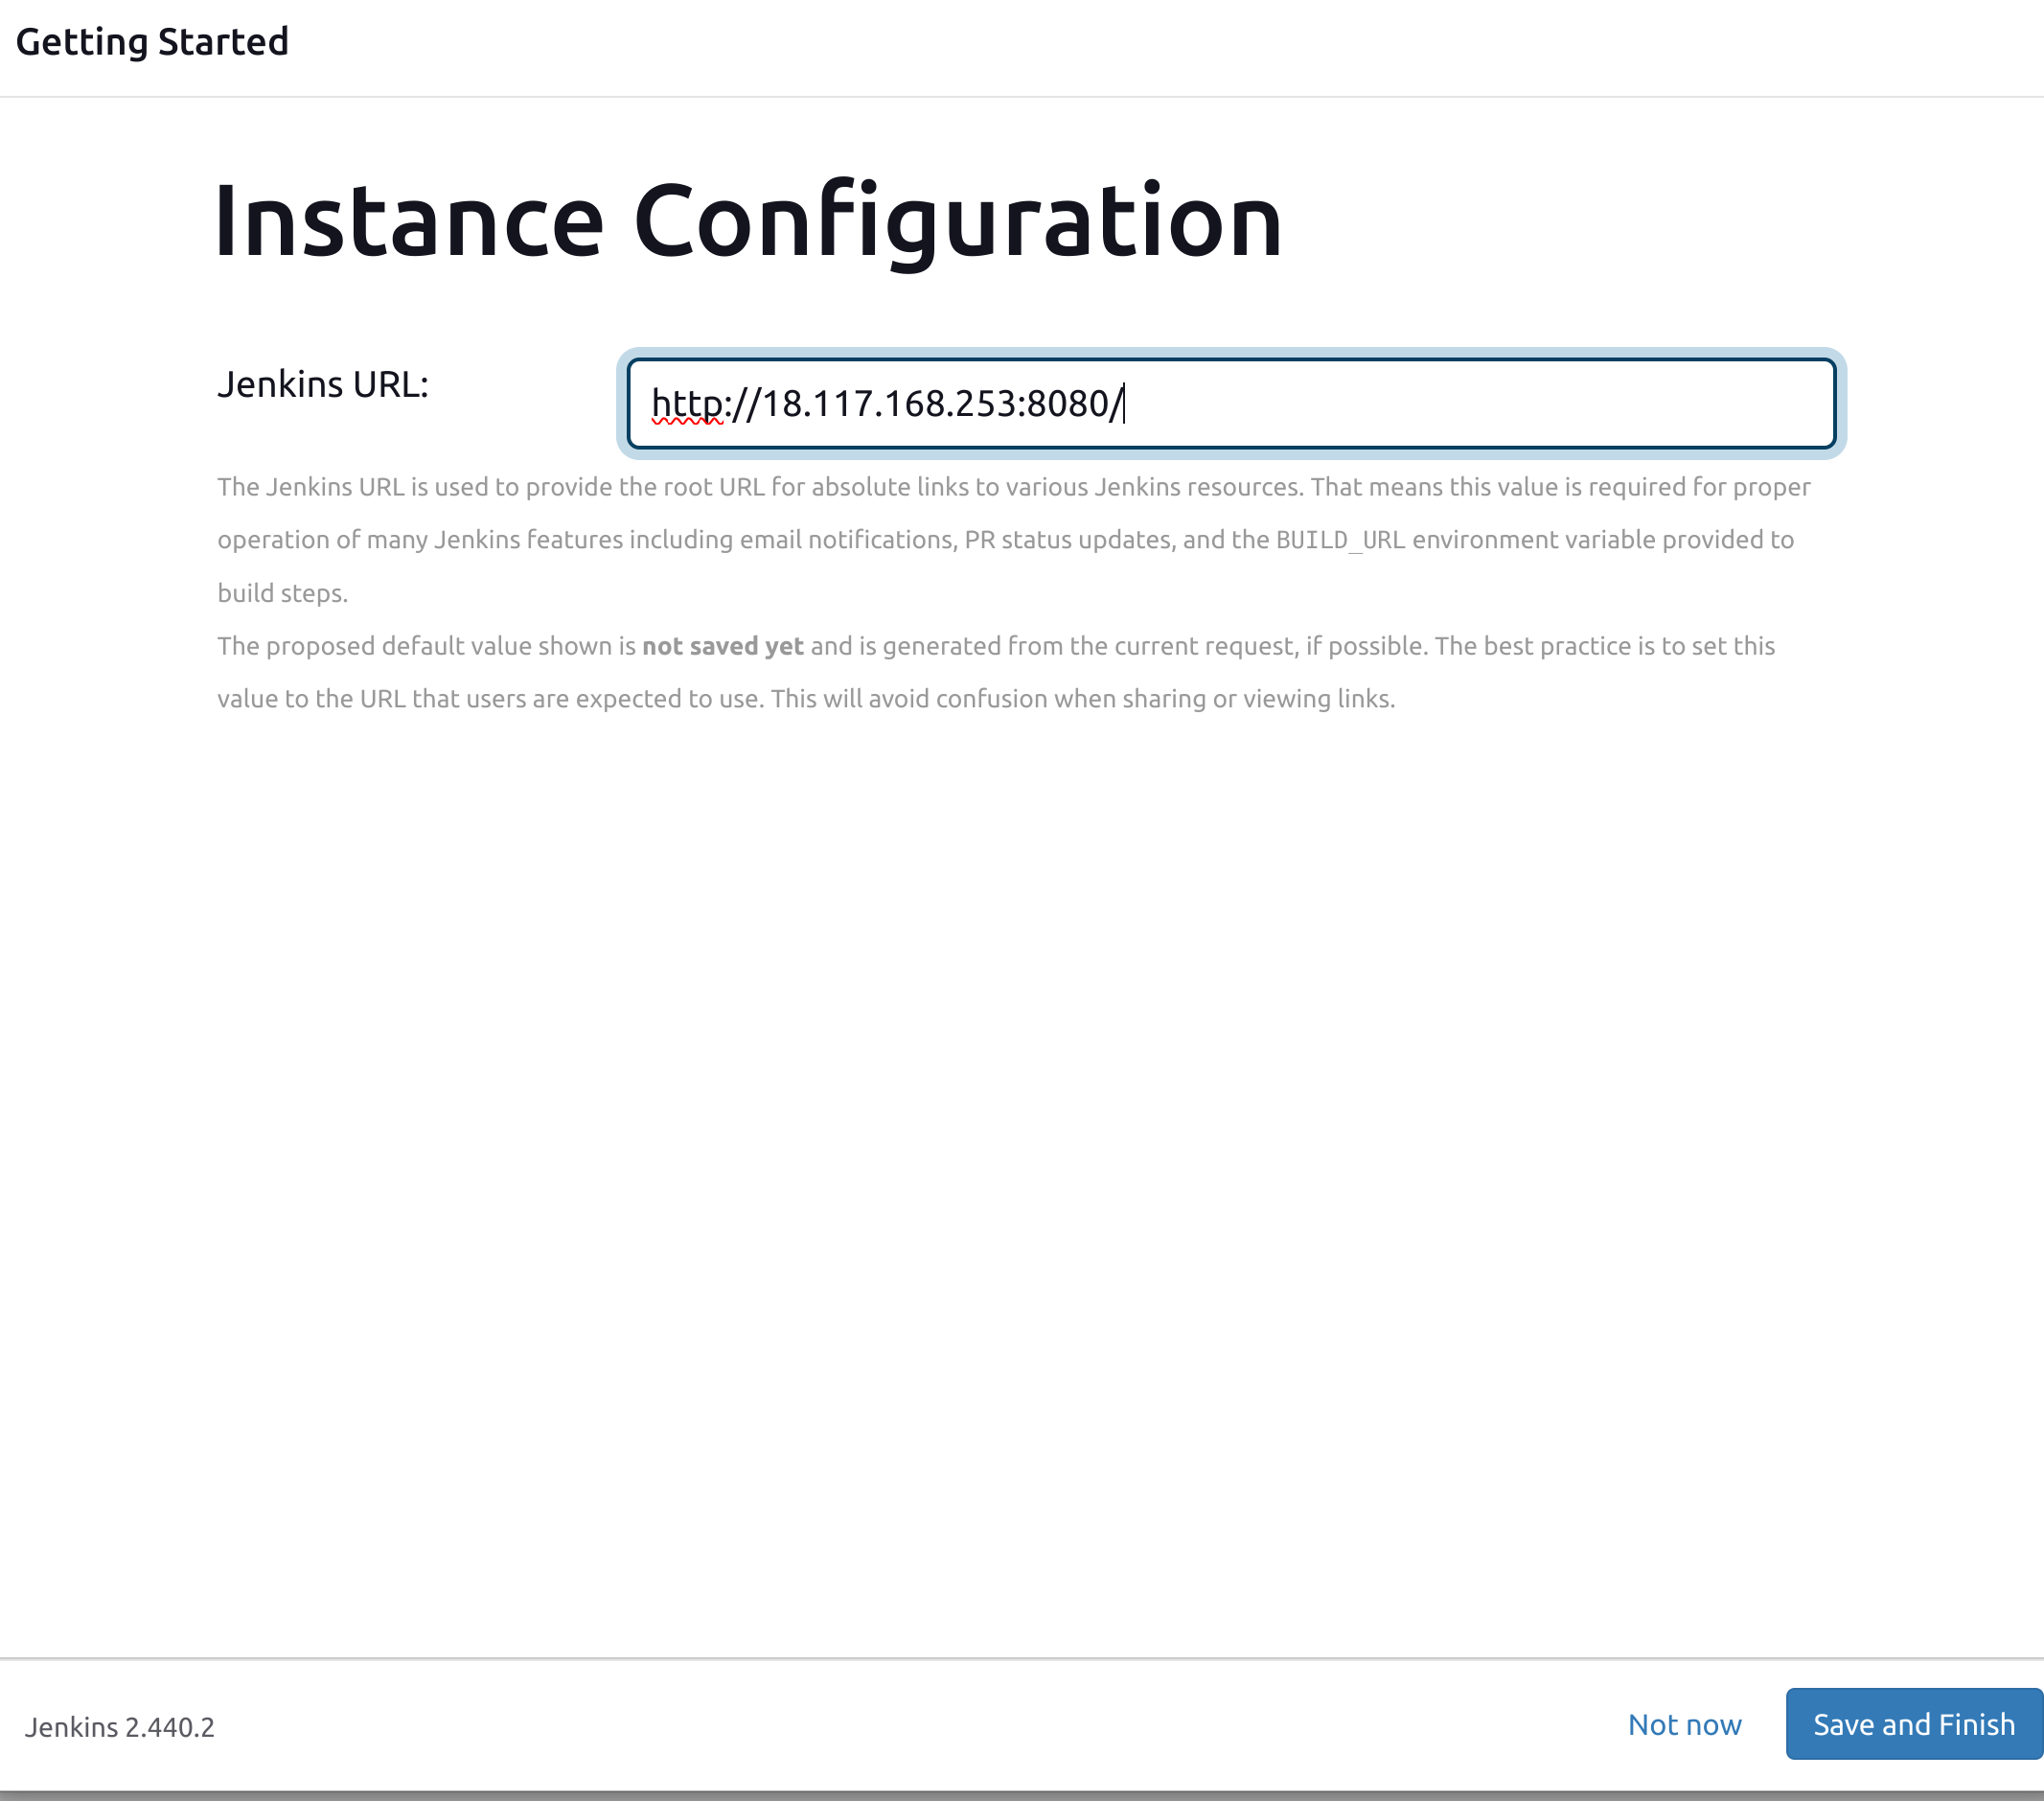
Instance Configuration
m
mm
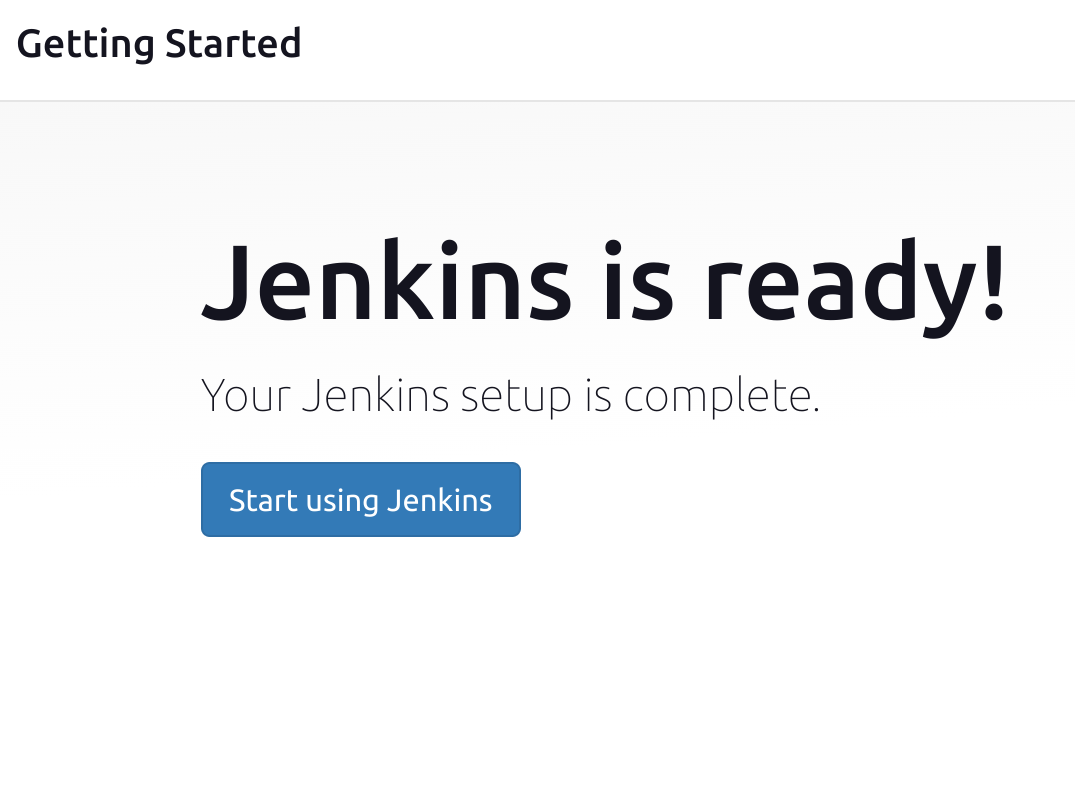
Finally ,we are at our Jenkins